
Most listing problems start before the first showing. The agent has the right price strategy, the house is clean enough, the seller is motivated, and the photos still come back flat. Online, buyers don't experience the neighborhood first. They experience a thumbnail.
That makes curb appeal photography less about decoration and more about conversion. A strong exterior image earns the click, sets the tone for the gallery, and tells buyers the rest of the home is worth their attention. A weak one does the opposite, even when the property itself is solid.
Why Your First Photo Is Your Only Chance
The first exterior frame does more work than most agents admit. It isn't just the cover image. It's the filter buyers use to decide whether the listing deserves another second.
That matters because the market has already shifted to a digital-first behavior pattern. The U.S. real estate photography market was valued at $1.2 billion in 2022, and 100% of buyers now search for homes online. Listings with professional photos sell for $934 to $116,076 more than comparable homes with low-quality images, according to Gitnux real estate photography statistics.
A lot of agents still treat exterior photography like documentation. Stand in the driveway. Center the house. Fire off a few frames. Move on. That approach misses the true objective of the image. The hero shot has to create confidence. Buyers need to feel that the property is cared for, accurately represented, and worth scheduling.
Practical rule: If the exterior photo looks casual, buyers assume the listing process is casual too.
The best curb appeal photography does three things at once. It shows condition, suggests lifestyle, and controls perception. A clean front elevation can make the home feel more expensive, more maintained, and more move-in ready before anyone sees the kitchen.
That's why experienced listing teams don't ask, "Should we get exterior photos?" They ask, "Which exterior angle wins the click, and what has to change on site before we shoot it?" That mindset changes everything that follows, from prep to camera setup to editing.
The Pre-Shoot Master Plan for a Flawless Exterior
Most exterior shoots fail because nobody took control before arrival. The yard is half-ready, the seller left two cars in the driveway, a hose is stretched across the walkway, and the trash bins are sitting next to the garage door. None of those things are dramatic in person. In a photo, they become the whole story.

Treat the exterior like a set
A good exterior photo isn't captured. It's built. Before the camera comes out, the property needs to look intentional from the curb all the way to the front door.
My working checklist always includes these basics:
- Clear the hard surfaces: Sweep porches, sidewalks, driveways, and front steps. Dirt reads as neglect on camera much faster than it does in person.
- Hide the visual clutter: Garden hoses, trash bins, extension cords, toys, pet bowls, delivery boxes, and seasonal decorations all pull the eye away from the house.
- Fix the sightline: Move vehicles from the driveway and, if possible, from the curb directly in front of the home. Street shots matter.
- Trim what blocks shape: Overgrown shrubs often hide windows, columns, address numbers, and the entry path.
- Refresh the focal point: The front door, porch lights, and planters carry a surprising amount of emotional weight in curb appeal photography.
Exterior condition matters too. If the paint is chalking, faded, or patchy, no camera trick will make it feel premium. Sellers who need a bigger visual reset should look at examples of how exterior painting can transform your home's curb appeal. A fresh exterior color scheme changes how the house photographs before editing ever starts.
Give sellers instructions they can actually follow
Most homeowners aren't difficult. They're under-informed. If you tell them to "get the house photo ready," you'll get a mixed result. If you send a short prep sheet, they usually do much better.
I keep the seller instructions simple:
- Mow, edge, and blow the yard the day before.
- Put away every movable item you wouldn't want in the hero image.
- Keep all cars off the driveway until the shoot is done.
- Replace dead bulbs at the porch and garage.
- Open or straighten shutters, blinds, and exterior accessories that look crooked from the street.
If the property will benefit from stronger visual merchandising outside, it helps to align the yard and entry with the same thinking used indoors. A staged exterior should feel as intentional as a staged living room. That's the same logic behind before-and-after house staging decisions that change buyer perception.
Sellers don't need a long lecture. They need a short list, a deadline, and examples of what will show up in the frame.
Time the shoot around the house, not your calendar
A lot of agents book exterior photography whenever the photographer has an opening. That's backwards. The house decides the best time.
South-facing facades usually handle earlier or later light better than harsh midday exposure. Homes with deep porches or mature trees often need brighter ambient conditions to avoid muddy shadows. If the front elevation has reflective windows or bright concrete, a softer light window usually gives a cleaner result.
This is also where weather discipline matters. Slight overcast can work beautifully. Heavy gloom usually kills contrast and makes landscaping look tired. Wind creates its own problems by moving trees, flags, and lightweight decor across frames.
A quick visual prep walkthrough helps. This video gives a useful baseline for what clean exterior presentation looks like before the shoot begins.
Don't confuse cleanup with overproduction
The goal isn't to make the property look fake. The goal is to remove friction. If a buyer notices the lawn patch, the leaning wreath, or the garbage can before they notice the architecture, the photo isn't doing its job.
Great curb appeal photography starts with discipline on site. The camera only records the decisions everyone made before the shutter clicked.
Essential Gear and Perfect Camera Settings
Gear matters, but not in the way many agents think. Expensive equipment won't rescue poor setup, and auto mode won't consistently deliver a clean listing package. For curb appeal photography, the goal is simple. Show the home accurately, keep verticals believable, and capture enough detail to edit with control later.
The two gear choices that matter most
Start with lens choice and tripod height. Those two decisions shape whether the home looks polished or amateur.
Professionals typically use a 20-24mm focal length because it makes spaces feel open without the exaggerated distortion buyers associate with fisheye images. Tripod height should sit at about 5 feet, which keeps perspective natural and avoids the awkward look that comes from shooting too high or too low, as noted in Saleswise's realty photography tips.
If you're building a practical kit, this is enough:
- Camera body: Mirrorless or DSLR with reliable dynamic range and manual controls.
- Lens: A wide-angle lens that stays within that professional range for realistic perspective.
- Tripod: Non-negotiable for sharp brackets, straight framing, and repeatable composition.
- Remote trigger or timer: Helps eliminate movement on slower shutter speeds.
- Microfiber cloth: Exterior work means pollen, dust, and fingerprints happen constantly.
A handheld exterior shot might look acceptable on the camera screen. On a listing page, the small perspective errors and softness become obvious fast.
Manual settings that actually work
Auto mode tends to overreact to bright skies, deep shadows, and white siding. That creates uneven exposures and forces heavier editing later. Manual mode gives you consistency.
For most exterior work, think in this order:
- Aperture first: Use a mid-range aperture to keep the facade sharp without softening the image through diffraction.
- ISO second: Keep it low whenever possible. Exterior detail in siding, brick, roofing, and landscaping needs clean files.
- Shutter speed last: Let the tripod handle slower exposures when needed.
Bracketing is worth learning early. It means taking multiple exposures of the same frame, usually one darker, one normal, and one brighter, so you can blend detail from shadows and highlights later. If you want a clean breakdown of how that works in property marketing, this guide to HDR photography for real estate listings is useful.
Quick Reference Camera Settings for Curb Appeal
| Lighting Condition | Aperture (f-stop) | ISO | Shutter Speed | Notes |
|---|---|---|---|---|
| Bright overcast | f/7.1 to f/9 | Low ISO | Adjust on tripod | Good for even siding and landscape tones |
| Full sun with strong contrast | f/8 to f/11 | Low ISO | Adjust on tripod with bracketing | Protect highlights and plan for HDR blend |
| Late afternoon soft light | f/7.1 to f/9 | Low ISO | Adjust on tripod | Often gives the most forgiving exterior balance |
| Twilight exterior with lights on | f/8 | Low ISO | Slower shutter on tripod | Watch for mixed color casts and window glare |
The exact shutter speed depends on the available light, which is why a tripod matters so much. The main point is consistency. When every frame in the set has a similar exposure approach, editing is faster and the gallery feels cohesive.
What doesn't work
The common mistakes are predictable. Shooting too wide makes the house bulge. Shooting handheld introduces avoidable softness. Raising the tripod too high makes the front yard disappear and pushes the roofline into a strange proportion. Letting the camera choose settings creates a patchwork gallery.
A controlled setup doesn't slow the process down. It prevents reshoots.
Mastering Composition and Finding the Money Shot
Composition decides whether the front exterior feels expensive, inviting, and worth clicking, or whether it reads like another rushed listing photo. I can hand two photographers the same house, same light, and same gear, and the one who chooses the better angle usually wins the listing presentation and the gallery.
The hero shot also needs to survive the full 2026 workflow. It has to read well straight out of camera, then hold up after vertical correction, sky balancing, lawn cleanup, and AI finishing. If the base frame is weak, software only polishes a weak frame faster.
Start with the three-quarter angle
For a large share of homes, the best exterior is a three-quarter view from slightly off center. That angle shows depth, roof shape, the front walk, and how the house sits on the lot. Buyers get more context in one frame, and the image feels less flat.
A straight-on shot still works for the right facade. Symmetrical colonials, Georgian-inspired homes, and anything with a centered entry and evenly spaced windows often look stronger head-on. Use it only when the architecture earns it. On many suburban listings, a centered shot pushes the garage forward and makes the house feel wider and shallower than it is.
Match the angle to the property type
Good exterior work is never one-size-fits-all. The angle has to fit the architecture and the selling point.
- Traditional suburban two-story: A three-quarter front view usually gives the cleanest read on depth, driveway placement, and front landscaping.
- Narrow urban home: A controlled front-facing frame or a slight offset often works better because neighboring structures can create ugly vertical convergence fast.
- Luxury property on acreage: Pull back enough to show the approach, scale, and land. If the grounds matter as much as the house, support the set with a carefully chosen drone image.
- Cottage or character home: Let the garden path, porch, gate, or fence contribute to the frame. Cropping too tight strips out the charm buyers are paying for.
Build the frame on purpose
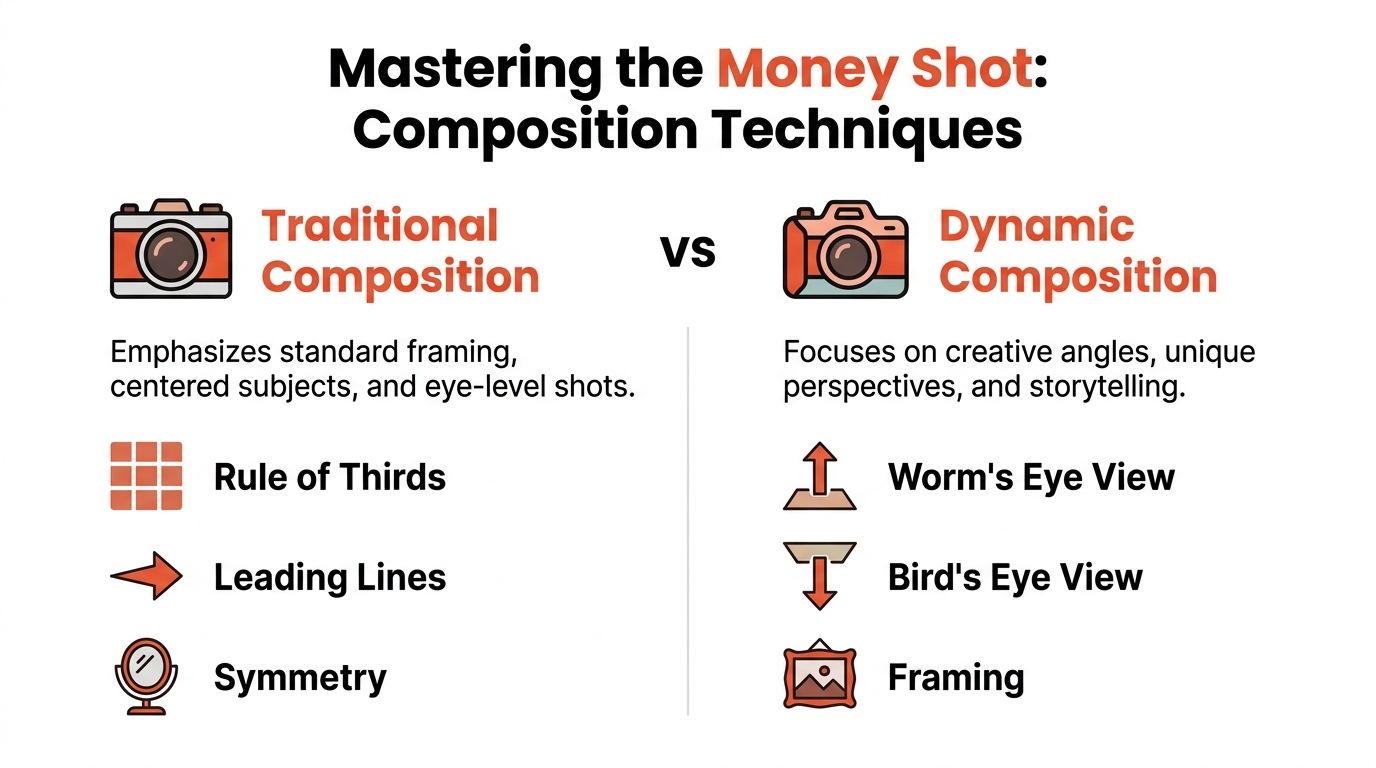
The Rule of Thirds still works because it keeps the home from looking pinned awkwardly in the middle of empty space. Leading lines matter just as much. A walkway, drive, low hedge, or fence line should guide the eye to the front door or the strongest architectural feature.
Framing can help, but only when it stays subtle. Branches, arches, and gates can add depth and context. They can also create clutter if they block siding, windows, or the entry. I treat foreground framing as optional, not smart by default.
One quick test catches a lot of bad compositions. If your eye lands on the garage door first, change position.
Control height and spacing
Tripod height changes the story more than photographers admit. Set the camera too high and the lawn disappears. Set it too low and the house can look top-heavy, with too much driveway or curb in the foreground. For most exteriors, I keep the lens high enough to show the base of the home clearly, but low enough to preserve the yard and front approach.
Spacing matters too. Backing up improves proportion, but only until the house starts getting lost among neighboring homes, parked cars, or too much street. Wider is not automatically better. The goal is to show the home with breathing room, not to document the entire block.
Timing changes the mood and the editing load
The same composition can work beautifully or fail completely depending on light. Soft directional light gives shape to siding, brick, and gardens. Golden hour flatters average homes because it adds warmth and reduces the harsh transitions that make exterior edits harder. Twilight earns its place when the property has outdoor lighting, pool features, strong windows, or clean architectural lines that read well after dusk.
Convenience is a bad scheduling strategy. Midday overhead sun carves dark shadows under eaves and porches. Strong backlight forces compromises on the facade. Flat gray light can work for some modern homes, but it often drains life from traditional exteriors.
Old-school judgment and modern editing need to work together. Shoot for the cleanest natural file first. Then let AI handle the repetitive cleanup and finishing work after the composition is already doing its job.
Know when a drone shot helps
Drone images earn their spot when they explain something the ground shot cannot. Lot shape, privacy, frontage, water, outbuildings, topography, and neighborhood relationship all fall into that category. If none of those factors adds value, the ground-level hero image carries the listing.
The strongest exterior set is selective. One hero shot that sells the facade, one or two supporting angles, and one aerial when it adds real information usually performs better than a gallery packed with near-duplicates.
The Modern Post-Production Workflow with AI
Editing is where many listing teams either sharpen the work or ruin it. Good post-production makes the property look clean, accurate, and market-ready. Bad post-production makes it look fake, overprocessed, or suspicious.
The right workflow still starts with traditional corrections. AI isn't the replacement for fundamentals. It's the speed layer on top of them.

Fix the file before you enhance it
The base edit should handle the same core issues every time:
- Lens distortion correction: Wide lenses can bend lines and subtly warp the facade.
- Vertical alignment: Crooked walls and leaning columns make the house feel unstable, even when viewers can't name the problem.
- Exposure balancing: Pull detail back into bright skies and dark porch recesses.
- Color correction: Siding, brick, trim, grass, and sky should look believable, not fluorescent.
- Cleanup: Remove sensor spots, minor distractions, and anything that reads as accidental.
Many photographers overdo saturation and sharpening. Grass turns neon. White paint turns blue. Shadows become crunchy. Buyers may not know the edit recipe, but they know when a listing feels manipulated.
Where AI is actually useful
AI works best after you've established a solid, honest base image. It saves time on repetitive tasks and helps solve problems that would otherwise eat up manual editing hours.
One of the most interesting developments is angle analysis. Some modern tools can evaluate the frame itself and recommend stronger three-quarter compositions. According to Hometrack's overview of exterior angle optimization, AI tools have shown in A/B tests that optimal three-quarter angles can boost a property's perceived value by 15-20%. That's useful because poor angles don't just look bad. They can drag down clicks and slow the listing's momentum.
The best use of AI is not hiding bad photography. It's finishing good photography faster and more consistently.
The edits worth automating
Some post-production tasks are ideal for AI assistance because they're repetitive and highly visual.
- Sky cleanup or replacement: Useful when the facade is strong but the weather isn't helping. Keep it believable for the season and lighting direction.
- Object removal: Great for bins, hoses, utility clutter, patchy yard distractions, or temporary signage that slipped through prep. If your team wants a practical walk-through, this guide on how to remove objects from photos is a solid reference.
- Exterior touch-ups: Dead grass, bare mulch patches, and uneven planting beds can often be cleaned up digitally when physical fixes aren't possible before launch.
- Decluttering and light staging: Small porch updates, cleaner planters, or simplified outdoor furniture layouts can help a frame read better without changing the property's character.
If you're evaluating different tools for that part of the workflow, this review of AI photo editing software for real estate teams is worth comparing against your current process.
What AI should never do
It shouldn't invent permanent property features that don't exist. It shouldn't create a season the market won't support. It shouldn't "improve" the home so aggressively that the showing experience breaks trust.
The right standard is simple. A buyer should arrive and feel the home looks like the photos, just on a normal day and with human eyes instead of a calibrated screen.
That balance is where modern curb appeal photography gets powerful. Traditional editing creates technical polish. AI creates efficiency, consistency, and faster turnaround without forcing a compromise on quality.
Delivering a Market-Ready Photo Package
A curb appeal shoot is not finished when the edits are done. It is finished when the agent can drag the files into the MLS, post the hero image to social, send a brochure to print, and launch the listing site without asking for anything else.
That handoff affects speed more than photographers admit.
I deliver exterior sets like a sales tool, not a photo archive. The package needs one clear hero image, two or three supporting front angles, a few detail frames that add context, and any aerials that explain lot position, corner placement, views, or proximity to amenities. If a photo does not help a buyer understand the property or help an agent market it, I leave it out.
File naming matters more than people think. "123-Main-Front-Hero" gets used. "DSC_4837-final-final2" gets lost, duplicated, or ignored.
Deliver for marketing use
A strong gallery holds attention online and gives the listing team enough coverage to build every asset they need without filling gaps with phone photos. The goal is not volume for its own sake. The goal is a tight set of usable images that each do a job.
My standard delivery package usually includes:
- MLS-ready exports: Correct dimensions, sensible compression, and clean color so uploads work on the first try.
- High-resolution files: For flyers, postcards, listing websites, email headers, and print pieces.
- Consistent edits across the set: Straight verticals, balanced exposure, and matching color temperature from image to image.
- Clear folder structure: Exterior, interior, aerial, twilight, and agent selects when the assignment includes multiple asset types.
This is also where the 2026 workflow separates strong teams from slow ones. Traditional retouching still handles the fine polish. AI speeds up production, keeps output consistent across large listing volumes, and helps turn one capture session into a package the marketing team can deploy the same day. Used correctly, it is the final production layer, not a shortcut and not a substitute for getting the photography right in the field.
A market-ready package should feel boring to receive. Everything is labeled correctly. Nothing is missing. The best exterior image is obvious in the first five seconds. That kind of delivery saves agents time, protects the brand across channels, and keeps the listing launch from stalling over preventable photo issues.
Bounti Labs helps real estate teams turn raw property capture into market-ready visuals fast. With Bounti Labs, you can generate MLS-ready photos, create marketing materials from a single walkthrough, and use AI for decluttering, staging, restyling, and renovation concepts without waiting on a long manual production cycle. If your team wants a faster way to produce polished listing content, it's worth a look.